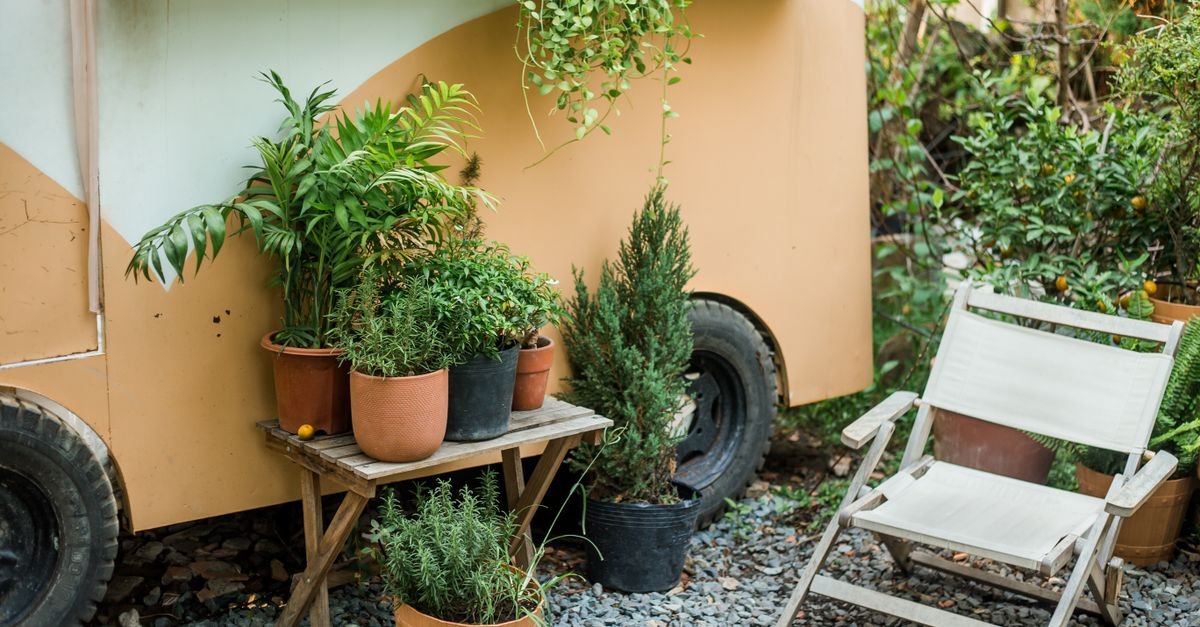
The best way to keep patio container plants alive while you’re away is to combine lower water demand with a dependable water source. For a three-day trip, group pots in a sheltered spot and water them thoroughly before leaving. For about a week, add a tested reservoir, wick, olla, self-watering pot, or small drip system. For two weeks or longer, arrange for someone to check the plants or use an automated system with enough water capacity and backup.
Containers dry faster than in-ground beds because their limited soil volume is exposed on all sides. Small pots, hanging baskets, unglazed clay containers, thirsty vegetables, full sun, heat, and wind all shorten the time between waterings.[1] No method is completely risk-free, so test your setup before departure rather than installing it for the first time on travel day.
Quick vacation watering plan by trip length
| Trip length | Best starting plan | When to add equipment or help | Plants that need extra attention |
|---|---|---|---|
| Up to 3 days | Water deeply, group pots, reduce afternoon sun and wind, and add a thin mulch layer. | Add a reservoir or wick for small pots that normally dry in one day. | Hanging baskets, small clay pots, tomatoes, peppers, herbs, and newly planted containers. |
| About 1 week | Use a tested wick, olla, reservoir, self-watering container, or timer-based drip system. | Have a neighbor check the system if weather may be unusually hot, windy, or stormy. | Full-sun vegetables, grow bags, shallow pots, and plants already needing daily watering. |
| 2 weeks or more | Use automated irrigation with a large water supply or arrange regular human care. | Use both a system and a backup check. Do not rely on a small bottle or saucer alone. | Fruit-bearing plants, seedlings, moisture-sensitive plants, and any valuable or irreplaceable specimens. |
This table is a planning guide, not a guarantee. A large, shaded plastic pot may last longer than a small clay pot in the same weather. Check how long each container currently stays acceptably moist before choosing a method.
First, reduce how much water the plants lose
Group containers together
Place pots close enough to create a more sheltered microclimate, but leave space for air circulation and keep foliage from staying wet. Put the group where plants receive suitable light, ideally morning sun and afternoon shade during hot weather. Moving sun-loving plants into deep shade for a long trip can cause its own problems, so aim for less intense heat rather than darkness.
Protect the pots from wind and hot surfaces
Wind increases moisture loss, while a hot patio or balcony surface can heat the root zone. A location that blocks some wind or receives less reflected heat may help, but conditions vary by site. Use a plant dolly or ask for help before moving large wet containers; a water-filled pot can be much heavier than it appears.
Water thoroughly, but don’t create a swamp
Before leaving, water slowly until excess water drains from the bottom. This helps wet the full root ball rather than only the soil surface.[2] Make sure every container has drainage holes. Moisture preferences vary by species: some plants need consistently moist mix, while others tolerate or require drier conditions between waterings. Avoid permanently saturated soil unless the plant and container system are specifically suited to it.[1]
Add a temporary surface mulch
A thin layer of suitable organic material—such as shredded leaves, straw, coir, or untreated grass clippings—can slow evaporation from the potting mix.[1] Keep mulch slightly away from stems and do not use a thick layer that stays wet against the plant crown. Mulch helps stretch a watering interval; it does not replace a water supply for a long trip.
Compare the main vacation watering methods
1. Grouping and shade: best for short trips
This is the simplest option and costs nothing. It works best for larger containers, established plants, and mild weather. Water the plants thoroughly, move them out of the hottest afternoon exposure, and group them before leaving.
Choose it when: you’ll be gone for a day or two, or your pots normally stay moist for several days.
Do not rely on it alone when: plants already need daily or twice-daily watering. Container plants may need daily watering during hot weather, and some may need it more often.[1]
2. Wick or capillary reservoir: useful without an outdoor spigot
A wick system uses a water container placed beside or below the plant. One end of a suitable absorbent wick sits in the reservoir and the other end is tucked securely into the potting mix. The plant draws water gradually as the mix dries. A wick can be useful for individual pots or small collections, but its performance depends on the wick, potting mix, reservoir position, and plant demand.
Use a reservoir large enough for the expected demand, but don’t assume one wick will supply a large, thirsty container. Test whether the wick stays in contact with the soil and whether the reservoir empties too quickly. A wick that slips out can leave a plant dry, while too much water can keep the mix soggy.
3. Ollas: a good match for suitable vegetable containers
An olla is an unglazed clay vessel filled with water and placed in the soil. Water slowly moves through the porous clay into the surrounding growing medium. Ollas can work well with established plants whose roots have reached the vessel, but performance depends on the vessel size, soil, plant, and root distribution.[4]
For a patio pot, use an olla designed for the container’s size or a properly made small porous vessel. Keep the opening accessible and covered to reduce evaporation and keep debris out. An olla still needs to be refilled, so it is most useful when paired with a reservoir, a person checking the garden, or a refillable system.
4. Self-watering containers: convenient, but not a last-minute fix
Self-watering containers have a built-in reservoir that supplies moisture from below or through a wick. They can reduce routine watering when matched to plants that tolerate the moisture conditions they provide. However, they are not automatically suitable for every plant, and repotting solely for a short vacation can create unnecessary stress.
If you already use self-watering containers, fill the reservoir according to the manufacturer’s directions and test how long it lasts under current weather conditions. Do not assume a full reservoir will last a week simply because the container is labeled self-watering.
5. Timer-based drip irrigation: best for many pots or longer trips
A drip system delivers water slowly through emitters placed near the root zone. A timer or controller can start watering on a schedule, making this the most scalable option for a collection of containers. University of Arizona Cooperative Extension identifies drip irrigation as suitable for potted plants and explains that a timer controls when the system starts and how long it runs.[5]
A timer does not guarantee success. Emitters can clog, tubing can disconnect, batteries can fail, and a schedule that works in mild weather may overwater or underwater during a heat wave. Run the system for several days while you are home. Check that every pot receives water, that the water reaches the root zone, and that containers still drain freely.
A practical setup when you don’t have an outdoor spigot
- Measure the current need. For several days, note which pots dry first and how much water they typically use.
- Separate plants by demand. Keep thirsty vegetables and herbs apart from drought-tolerant plants so one watering schedule does not fit everything poorly.
- Move the group to a protected location. Favor appropriate light with less afternoon heat and wind.
- Choose a reservoir method. Use a wick for a few pots, an olla for established plants in suitable containers, or a gravity-fed drip kit for a larger group. A gravity-fed kit must have enough elevation to create usable pressure and must be designed to operate at low pressure; follow the kit’s instructions and test every emitter.
- Use a clean, stable water container. Secure it so it cannot tip, and keep tubing or wicks from being pinched.
- Test for at least three days. Test longer if you are leaving for a week or more. Refill the reservoir during the trial as you would before departure.
- Ask for a backup check. Even a quick visit can catch a tipped container, blocked emitter, empty reservoir, storm damage, or unusually hot conditions.
What not to do before leaving
- Do not fertilize heavily immediately before travel. Extra salts can stress roots, and fertilizer does not solve a water shortage.
- Do not leave plants sitting in deep saucers of water unless the plant and container system are specifically designed for that approach.
- Do not install an untested timer, bottle reservoir, wick, or olla the night before departure.
- Do not prune away large amounts of healthy foliage solely to reduce watering. Remove spent flowers or damaged growth, but avoid major changes just before a trip.
- Rain-barrel water is non-potable and should be used carefully. Soil-level irrigation that keeps the water off leaves and harvestable portions may be appropriate for some ornamental and edible container plants, subject to local guidance and the condition of the barrel. Do not spray or otherwise apply untreated rain-barrel water directly to portions of herbs, vegetables, fruits, or edible flowers that will be eaten.[6]
The safest decision
For a short trip, start with grouping, shelter, mulch, and a thorough pre-departure watering. For about a week, use a tested wick, olla, self-watering container, or drip system matched to the plant’s needs. For two weeks or more, combine automated watering with a person who can inspect the plants. The more valuable, thirsty, exposed, or recently planted the containers are, the more important a backup check becomes.
Sources
- University of Minnesota Extension: Fertilizing and watering container plants
- Penn State Extension: The Art of Container Gardening
- Colorado State University Extension: Olla Pots: An Ancient Irrigation Technique
- University of Arizona Cooperative Extension: The Basics of Drip Irrigation for Landscaping
- University of Minnesota Extension: Rain barrels in the home landscape
Sources
- Fertilizing and watering container plants — University of Minnesota Extension
- The Art of Container Gardening — Penn State Extension
- Olla Pots: An Ancient Irrigation Technique — Colorado State University Extension
- The Basics of Drip Irrigation for Landscaping — University of Arizona Cooperative Extension
- Rain barrels in the home landscape — University of Minnesota Extension