Most garden beds need 2 to 3 inches of settled mulch. Trees, shrubs, and perennial beds can usually handle up to about 3 or 4 inches, depending on the material and drainage. More is not automatically better: deep or tightly packed mulch can reduce air exchange, keep soil too wet, hide root flares, and create a damp surface against plant stems and trunks.[1]
The most reliable approach is to measure the existing layer before adding anything. If old mulch is still several inches deep, rake it evenly, loosen matted areas, and remove enough to restore the recommended depth instead of adding a fresh layer on top.
Quick mulch-depth guide by garden zone
| Garden zone | Practical settled depth | Good material choices | Important clearance |
|---|---|---|---|
| Trees and shrubs | 2–3 inches; up to 4 inches on well-drained soil | Wood chips, bark, pine straw | Keep mulch away from the trunk and root flare |
| Perennial and ornamental beds | 2–3 inches | Shredded bark, wood chips, leaf mulch | Keep crowns and stems exposed |
| Vegetable beds | About 1–3 inches, adjusted for the crop and material | Clean straw, leaves, or thin layers of grass clippings | Do not bury seedlings or let wet material touch edible plant stems |
| Slopes and exposed beds | Usually 2–3 inches, spread evenly | Coarser wood chips, straw, or living ground cover | Use plants, edging, or terracing where runoff moves mulch downhill |
These are starting points rather than rigid rules. Fine, compacting materials may need a shallower layer, while coarse chips leave more air space. Poorly drained soil also calls for less mulch. University extension guidance commonly places landscape mulch in the 2- to 4-inch range, while some tree-care recommendations favor 1 to 3 inches; the shared principle is to keep the layer shallow and off plant tissue.[1] [2]
How to calculate the amount of mulch you need
Measure each zone separately, because a tree ring, vegetable bed, and sloped border may use different depths.
- Measure the area in square feet.
- Choose the target depth in inches.
- Multiply area by depth, then divide by 12 to get cubic feet.
- Divide cubic feet by 27 to get cubic yards.
Formula: cubic yards = area in square feet × depth in inches ÷ 324.
Example
A 100-square-foot perennial bed receiving 2.5 inches of mulch needs about 0.77 cubic yards:
100 × 2.5 ÷ 324 = 0.77 cubic yards
For bags, divide the required cubic feet by the volume printed on the bag. Bag sizes vary, so use the labeled volume rather than assuming every bag covers the same area.
Zone-by-zone mulch calculator
| Zone | Area | Target depth | Approximate volume |
|---|---|---|---|
| 5-foot-diameter tree ring | About 19.6 sq. ft. | 3 inches | About 0.18 cubic yards |
| Perennial bed | 100 sq. ft. | 2.5 inches | About 0.77 cubic yards |
| Vegetable bed | 50 sq. ft. | 2 inches | About 0.31 cubic yards |
| Sloped border | 150 sq. ft. | 2 inches | About 0.93 cubic yards |
The tree example assumes a circular area measured across the full 5-foot-diameter mulch ring. To calculate a circle, multiply 3.14 by the radius squared. Subtract the unmulched circle around the trunk if you want a more precise material estimate.
How much mulch should go around trees?
Spread mulch broadly rather than building it high. A 2- to 3-inch layer extending toward the canopy or drip line is generally more useful than a deep ring close to the trunk.[3]
Leave a visible, mulch-free ring around the trunk. Extension guidance commonly recommends keeping mulch several inches away from the trunk; recommendations cited here range from about 3 to 6 inches, depending on the tree and site conditions.[2] [4] The root flare—the slight widening where major roots begin—should remain visible. If mulch has covered it, pull the mulch back carefully rather than scraping aggressively into the soil.
Avoid the familiar “mulch volcano.” Mulch touching bark can keep the trunk wet, encourage decay, shelter pests, and hide problems at the base of the tree. If a tree appears planted too deeply and the root flare is not visible after removing mulch, stop before excavating around the trunk and seek qualified tree-care advice.[3]
Choosing mulch for each type of bed
Wood chips and shredded bark
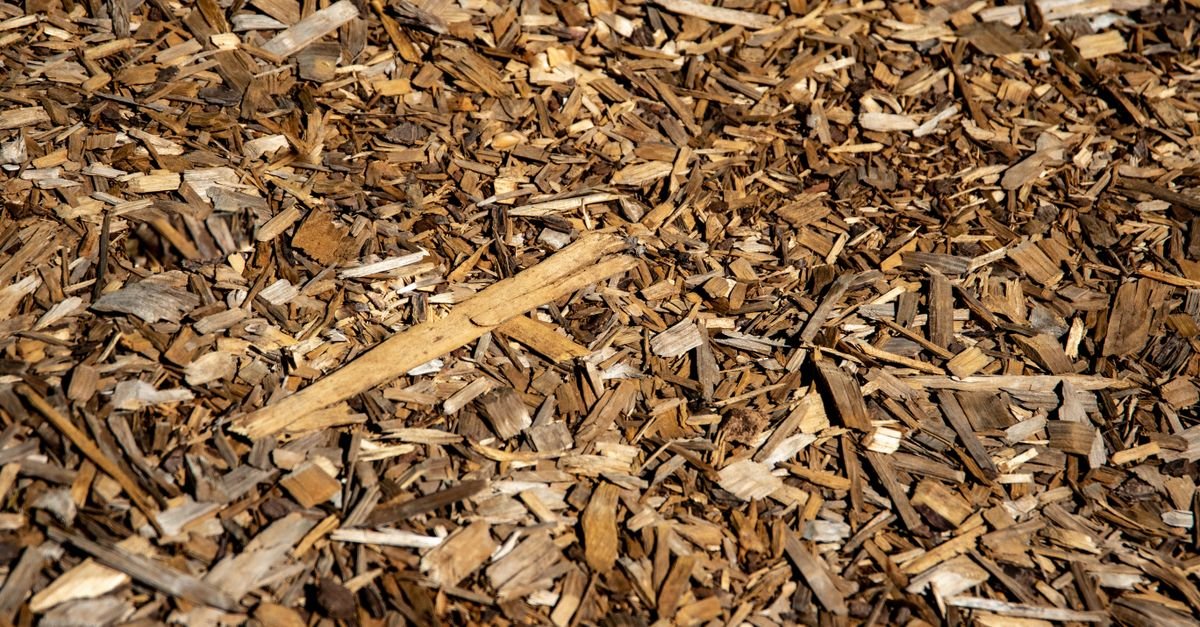
Wood chips and bark are well suited to trees, shrubs, and perennial beds because they decompose relatively slowly. Coarser chips tend to remain more open and are less likely to form a dense mat. Fresh arborist chips can be used around trees and shrubs when left on the soil surface, but they are not a good default for annual vegetables or plants that need fine, easy-to-work soil.[2]
Straw and leaves
Clean straw is useful in vegetable gardens because it helps keep produce off the soil and can reduce evaporation and weeds. Chopped or partially shredded leaves can also work, but whole leaves may pack together if applied too thickly. Check the bed after rain and loosen any crusted layer.
Grass clippings
Use grass clippings in thin layers—about one-quarter inch at a time—and allow each layer to dry before adding more. Thick, wet clippings can mat together and restrict air movement.[5]
Compost
Compost is valuable for improving soil, but it is not always the best thick weed-suppressing mulch. Fine compost can provide a favorable seedbed for weeds, so use it as a thin surface layer or soil amendment where appropriate rather than assuming a deep blanket is better.[6]
Mulching on slopes
Mulch can reduce the impact of rainfall, surface crusting, and erosion on exposed soil. On a gentle slope, spread a consistent 2- to 3-inch layer and inspect it after heavy rain for channels or piles at the bottom of the bed.[1]
Do not compensate for a steep or actively eroding slope by simply adding more mulch. Coarse material, plants with dense root systems, contour edging, or terracing may be more effective. Slopes that are difficult to walk or maintain may need year-round plant cover rather than a bare, heavily mulched surface.[7]
When to refresh—or remove—mulch
Check mulch depth at least once or twice a year, especially after heavy rain, winter settling, or major weed removal. Refresh only what has decomposed or washed away.
- Rake first: Break up compacted or matted material and redistribute high spots.
- Measure second: Check the depth in several places, not just at the bed edge.
- Remove excess: If the layer is already too deep, move or compost the extra material before adding anything.
- Top up lightly: Add enough to return to the target depth, usually no more than an inch at a time.
- Inspect plant bases: Keep mulch away from stems, crowns, trunks, and the tree root flare.
Old organic mulch does not always need to be removed simply because it has changed color. If it is not too deep, break up the surface and leave it in place. Removing material becomes important when the layer has accumulated beyond the target depth, formed a water-resistant mat, or covered plant crowns or tree roots.[3]
A simple maintenance schedule
- Spring: Weed the bed, inspect drainage, and reset mulch to the target depth after the soil has thawed and settled.
- During summer: Check after major storms and pull mulch away from stems that become buried as plants grow.
- After leaf fall: Remove diseased plant debris, then redistribute mulch without covering crowns or piling it against trunks.
- Before buying more: Calculate the missing volume. A thin, measured refresh usually works better than automatically purchasing a full new layer.
The goal is not a thick-looking bed. It is an even, breathable surface that suppresses young weeds, slows evaporation, protects soil from rain, and still lets water and oxygen reach plant roots.
For raised beds, mulch choice also depends on what is beneath the bed and how drainage is handled; compare the options in Cardboard, Landscape Fabric, or Nothing Under a Raised Bed?
Bottom line
Start with 2 to 3 inches of settled mulch for most garden beds. Use a little less when the material is fine, wet, or placed on poorly drained soil; use up to about 4 inches only where the material and drainage justify it. Keep mulch off trunks, stems, and crowns, spread it wide around trees, and measure what is already there before buying more. That routine prevents the common cycle of over-mulching, trapped moisture, and unnecessary maintenance.
Sources
- Mulching for soil and garden health — University of Minnesota Extension
- Mulching Trees and Shrubs — University of Maryland Extension
- Mulching Landscape Trees — Penn State Extension
- Promote Plant Health — Penn State Extension
- Mulches for the Vegetable Garden — Colorado State University Extension
- Mulching woody ornamentals with organic materials — Oregon State University Extension Service
- Water-Wise Landscape Design: Steps — Colorado State University Extension