Interior window condensation usually means the humidity inside your home is too high for the temperature of the glass. When warm, moisture-heavy indoor air touches a cold window surface, the air reaches its dew point and water forms. Cold weather makes the problem more noticeable, but the window itself may not be the only cause.[1]
Before replacing windows, check four possibilities: excess indoor moisture, poor air movement, unusually cold glass or frames, and an actual water leak. The location and timing of the moisture can usually tell you which one is most likely.
First, identify where the moisture is
- On the room-side glass: Indoor humidity, cold glass or restricted airflow is the usual explanation.
- On the frame, sash or sill: The frame may be colder than the glass, airflow may be blocked, or water may be entering around the window.
- Between double- or triple-pane glass: This is not ordinary room-side condensation. Fogging between panes can indicate that the insulated glass unit’s seal has failed and needs professional assessment or replacement.[2]
- On the outside of the glass: Exterior condensation can occur when humid outdoor air meets glass cooled by air conditioning. It does not automatically indicate a window defect.[1]
Use this humidity chart as your starting point
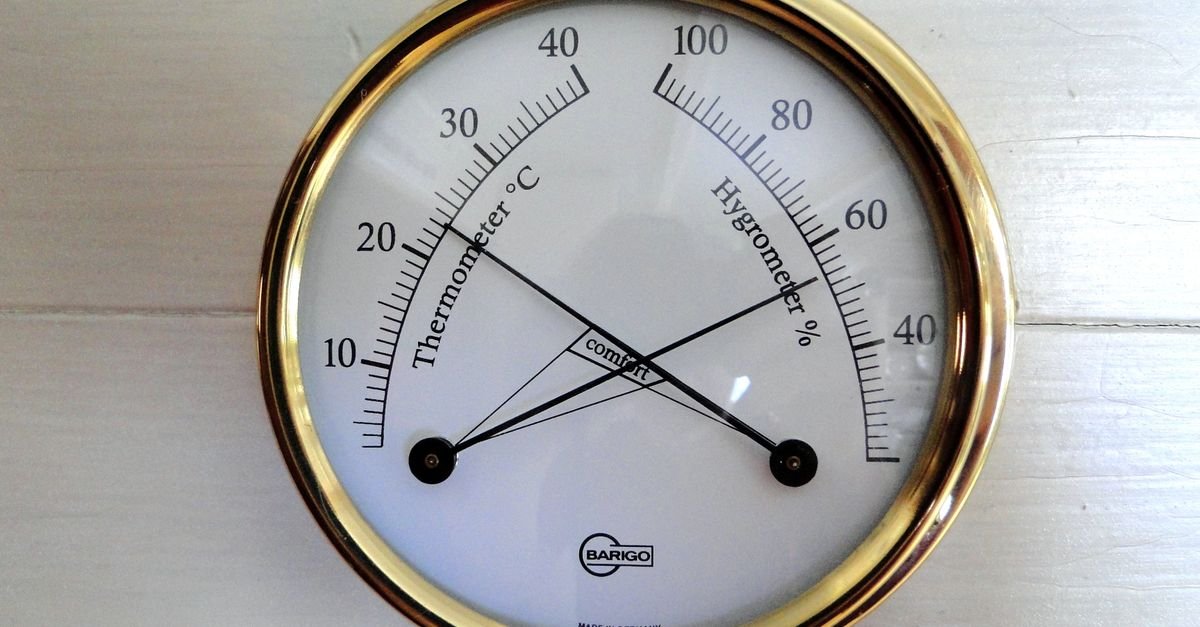
Place a digital hygrometer in the affected room, away from a humidifier, kitchen vent or direct heat. Then compare the indoor relative humidity with the outdoor temperature. The figures below are approximate editorial starting points, not an EPA or code table. They are arranged as a practical troubleshooting rule: as outdoor temperatures fall, lower indoor relative humidity to reduce the chance that common interior window surfaces will reach their dew point. Actual safe levels vary with window type, frame material, glazing, shading, air movement and local climate.
| Outdoor temperature | Approximate maximum indoor relative humidity to try first | What to do if condensation continues |
|---|---|---|
| About 20°F | 35% | Lower humidity toward 30% and improve airflow |
| About 10°F | 30% | Run exhaust fans and reduce moisture sources |
| About 0°F | 25% | Lower humidifier settings and keep glass uncovered |
| About -10°F | 20% | Dry the sill promptly and investigate cold spots or drafts |
| About -20°F | 15% | Consider professional evaluation if moisture persists |
These are not a guarantee that every window will stay dry. Older single-pane windows, metal frames, poorly insulated openings and heavily shaded windows can condense at lower humidity. For general indoor-air guidance, the EPA recommends keeping indoor relative humidity below 60%, ideally between 30% and 50%; winter window performance may require the lower end of that range or below it.[3]
How to stop window condensation
1. Reduce moisture at the source
For a few days, treat the house like a moisture investigation. Use bathroom exhaust fans while showering and leave them running for a short period afterward. Use the kitchen exhaust fan when boiling, steaming or running the dishwasher. Make sure both fans discharge outdoors rather than into an attic or wall cavity. Clothes dryers should also vent outdoors.[3]
Other common moisture sources include humidifiers, drying clothes indoors, long showers, uncovered boiling water, many houseplants, damp basements or crawl spaces, and plumbing leaks. If you use a whole-house or portable humidifier, reduce its setting as soon as window moisture appears.
2. Improve air movement over the glass
Move blinds, shades and curtains far enough away from the window to let warm room air reach the glass. Open interior doors to colder rooms and avoid placing large furniture directly against exterior walls or over heat registers. Keeping window coverings open or arranged so they do not trap still air can improve drying and warm-air circulation at the window.
If the condensation is concentrated at the bottom corners or behind closed curtains, restricted airflow may be contributing more than the whole-home humidity level. A small fan can help temporarily, but it is better to correct the blocked airflow or ventilation pattern.
3. Dry the glass and sill promptly
Wipe away water when you see it, especially from painted wood, unfinished trim and the joint where the sill meets the wall. Persistent moisture can damage finishes and create conditions favorable to mold growth. EPA advises drying wet areas promptly and reducing the moisture source rather than simply covering or painting over damp materials.[3]
Do not caulk over a wet or moldy area before finding out whether the water is condensation or a leak. If the trim is swollen, stained, soft or repeatedly wet in one location, treat it as a possible water-intrusion problem.
4. Check for drafts and cold spots
On a windy day, slowly move your hand around the sash, frame and interior trim. A noticeable draft can make the nearby surface colder and may indicate worn weatherstripping or an air-sealing gap. Cracked caulk, loose trim and gaps around the frame are worth documenting before repair.
Do not seal drainage holes or weep openings in the window frame. Those openings are designed to let incidental water drain outward. If you are unsure which gaps are intended drainage paths, have a window professional inspect the unit before applying sealant.
When the window may be the main problem
Condensation on every window during a cold snap usually points first to indoor humidity. Condensation on one window, one corner or one section of frame—especially when nearby windows remain dry—makes a local cold spot, installation gap, damaged weather seal or exterior water leak more likely.
Older single-pane windows and conductive metal frames naturally have colder interior surfaces than modern insulated windows. Storm windows, temporary interior window insulation film and properly fitted shades can make the interior surface warmer and reduce drafts. Properly installed interior window film may also reduce the amount of condensation by making the interior surface warmer, although it will not correct excessive indoor humidity or a leak.[4]
Window replacement should not be the first response if indoor humidity is high. If humidity is already appropriate for the outdoor temperature and condensation continues, ask for an evaluation of the window’s glazing, frame, installation, air sealing and surrounding wall—not just a sales estimate for new units. When comparing replacement windows, the Department of Energy identifies condensation-resistance ratings as a useful measure of how well a window resists interior moisture or frost formation.[5]
A quick diagnostic decision tree
- Is the water on the room side? If no, identify whether it is outside, between panes or from a leak. If yes, continue.
- Is indoor RH above the chart’s target? If yes, reduce moisture sources, adjust the humidifier and ventilate. Recheck after a day or two of similar weather.
- Is only one window affected? If yes, inspect for drafts, blocked airflow, cold framing and exterior leaks.
- Is the sill or trim soft, stained or swollen? If yes, stop treating it as simple condensation and arrange a window or building-envelope inspection.
- Does moisture remain between panes after wiping both surfaces? If yes, have the insulated glass unit assessed.
When to get help
Arrange an inspection if condensation persists after indoor humidity is reduced, if water appears during rain rather than cold weather, if the wall or trim feels soft, or if mold keeps returning. Seek prompt attention for extensive visible mold, wet insulation or moisture that appears to be entering the wall assembly. Routine surface wiping will not correct hidden moisture.
For related household moisture and ventilation tasks, keep this advice alongside your broader home maintenance schedule.
The practical takeaway
Start with a hygrometer, not a replacement-window quote. Lower indoor humidity to match the outdoor temperature, vent moisture-producing activities outdoors, keep window coverings from trapping still air, and dry wet sills promptly. If one window remains wet while the rest of the home is dry, investigate the window, its installation and the surrounding wall for a local defect.
Sources
- Residential Windows, Doors, & Skylights: Condensation guidance — ENERGY STAR
- Condensation on Windows — U.S. Department of Energy Building America Solution Center
- What are the main ways to control moisture in your home? — U.S. Environmental Protection Agency
- Applying Plastic Over Windows Project — ENERGY STAR
- Purchasing Energy-Efficient Residential Windows, Doors, and Skylights — U.S. Department of Energy