Yes—you can perform a useful annual home inspection yourself, as long as you treat it as a visual condition check rather than a professional inspection. Walk the same route each year, photograph anything that has changed, and record what needs monitoring or repair. Professional inspection standards cover broad categories such as the roof, exterior, structure, plumbing, electrical, heating, cooling, and interior systems, but a homeowner should not open electrical panels, climb onto a roof, or dismantle equipment to imitate that process.[1]
The most useful method is photo, measure, monitor, escalate:
- Photo: Capture the condition and location of anything unusual.
- Measure: Record humidity, a visible crack’s approximate length, or the date of a leak.
- Monitor: Recheck uncertain findings instead of guessing at the cause.
- Escalate: Call an appropriate professional when the issue involves safety, hidden damage, active water entry, or a system you cannot evaluate safely.
Before you start: prepare a simple inspection record
Choose a season with dry weather and good daylight. Many homeowners prefer spring or fall because exterior conditions are easier to see and seasonal maintenance is already due. Set aside a few hours, depending on the size of the property.
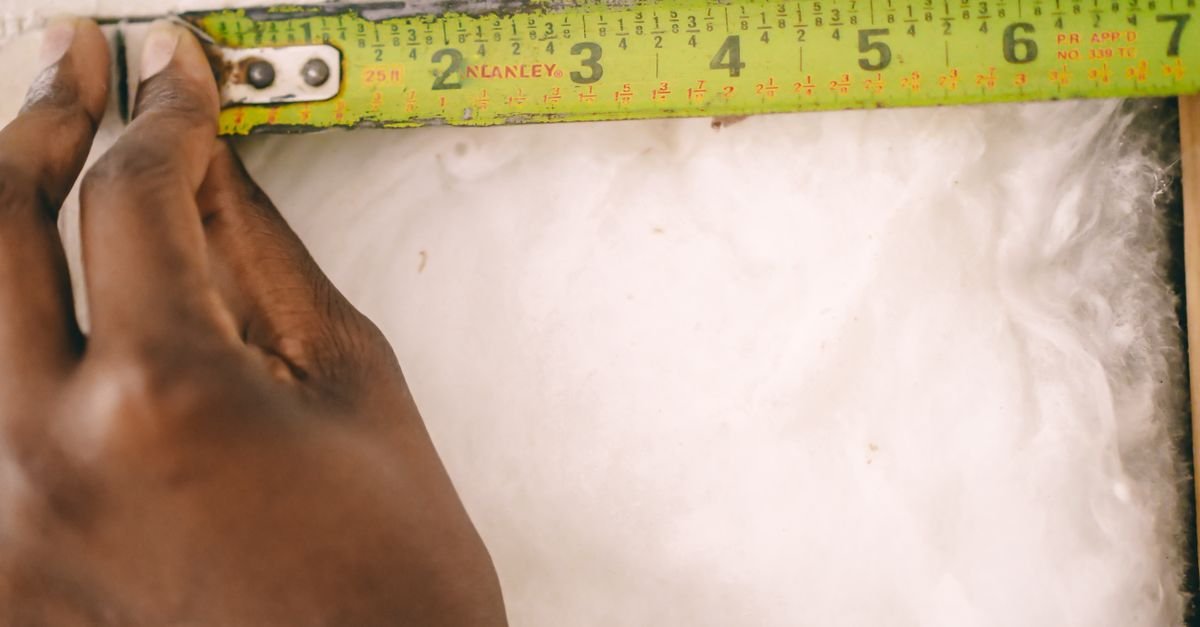
Bring a phone or camera, flashlight, notebook, tape measure, binoculars, and a hygrometer if you have one. Do not use a ladder to reach a roof edge or enter an unsafe crawl space. A camera with zoom is often more useful than taking a risk.
Create one record for the house with these columns:
| Location | Observation | Evidence | Next step |
|---|---|---|---|
| North gutter | Dark staining below joint | Photo dated May 2026 | Watch during next rain; arrange gutter repair if water leaks |
| Basement wall | New white powdery deposit | Photo and approximate area | Check for dampness and investigate water entry |
Also gather your last inspection report, appliance manuals, repair invoices, warranty information, and records for roof, HVAC, plumbing, or pest work. Comparing this year’s photos with older ones is often more useful than trying to decide whether a condition is “normal” from memory.
1. Walk the exterior first
Start at the street and move around the house in one direction. Look at the building as a system that has to shed water, remain supported, and keep openings sealed.
- Roof from the ground: Use binoculars to look for missing, cracked, slipping, or visibly deteriorated roofing materials. Check roof edges, valleys, skylights, chimneys, and vent penetrations for changes. Do not climb onto the roof as part of a routine homeowner check.
- Gutters and downspouts: Look for sagging, separated joints, overflow marks, and downspouts that discharge beside the foundation. Gutters and drainage deserve attention because EPA guidance identifies roof drainage and ground slope as important parts of moisture control.[2]
- Ground around the foundation: Look for standing water, soil erosion, newly sunken areas, or landscaping that directs water toward the house.
- Walls and trim: Photograph cracked, warped, loose, or rotting siding and trim. Note peeling paint, damaged masonry joints, or openings around pipes and cables.
- Windows and doors: Look for failed caulk, damaged weatherstripping, fogging between panes, water staining, or doors that suddenly stick.
- Decks, steps, and railings: Check for loose boards, soft-looking wood, unstable rails, and changes in how steps feel underfoot. Do not rely on a visual check alone if a deck or elevated structure feels unsafe.
Photograph the same exterior features from roughly the same positions every year. This creates a time series that can reveal gradual roof wear, settlement, drainage changes, or vegetation contacting the house.
2. Check the interior for water clues
Inside, prioritize signs of moisture before cosmetic defects. Look at ceilings below bathrooms, kitchens, laundry areas, and roof penetrations. Check walls around windows, exterior corners, and plumbing fixtures for discoloration, bubbling paint, peeling wallpaper, musty odors, or soft materials.
Open the cabinets beneath sinks and inspect supply connections, shutoff valves, drain traps, and cabinet floors. Look around toilet bases, tubs, showers, and washing-machine connections. If you find active water, stop using the affected fixture when practical and arrange repair rather than covering the stain.
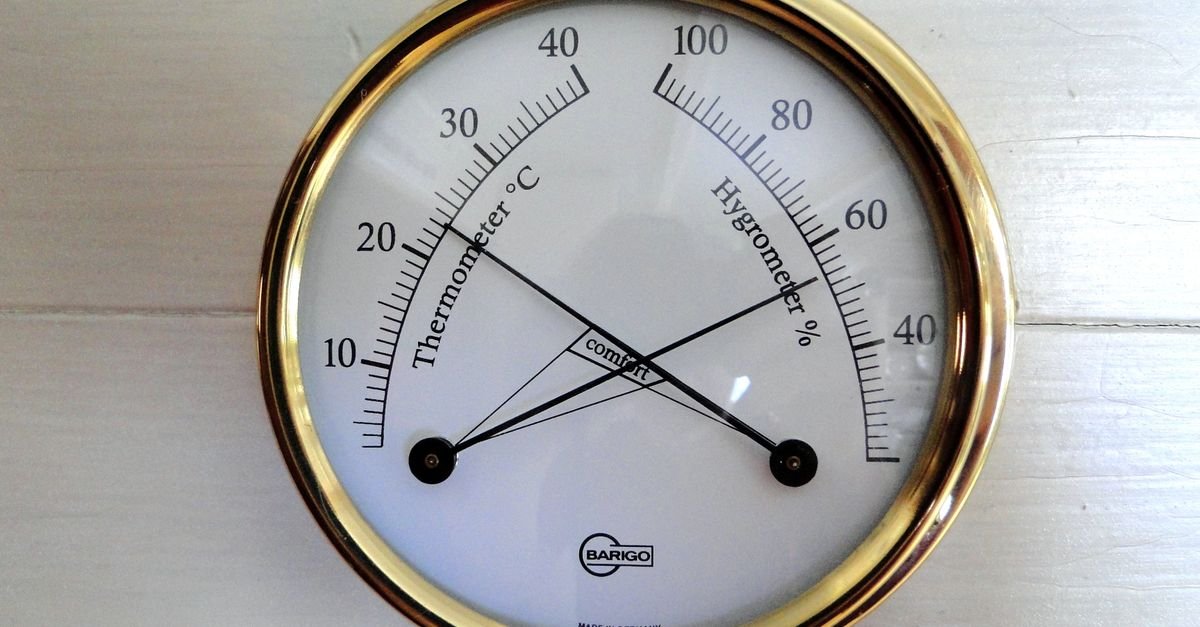
EPA guidance recommends drying wet or damp materials promptly—ideally within 24 to 48 hours—and correcting the water source. It also recommends keeping indoor relative humidity below 60%, with 30% to 50% described as an ideal range when possible.[2] A recurring stain, soft drywall, persistent musty odor, or suspected moisture inside a wall is a reason to escalate rather than simply repaint.
For a related appliance-focused review, see appliance maintenance checks that help prevent water damage.
3. Review plumbing, ventilation, and major equipment without dismantling anything
Run each faucet briefly and watch for leaks, slow drainage, unusual discoloration, or a sudden change from your normal water pressure. Check visible pipes for corrosion, mineral deposits, condensation, or staining. Do not remove sealed covers or attempt repairs simply to investigate.
Turn on bathroom and kitchen exhaust fans. Confirm that air appears to move and look for signs of moisture around the fan grille or ceiling. Moisture-producing exhaust should discharge outdoors rather than into an attic or enclosed building cavity; otherwise, humid air can contribute to condensation and moisture damage.[2]
Inspect the accessible area around the furnace, air handler, or outdoor HVAC unit for unusual water, rust, damaged insulation, blocked clearance, or debris. Replace filters according to the equipment manufacturer’s guidance and note the date. A filter or maintenance record belongs in your inspection file, but diagnosing refrigerant, combustion, wiring, or internal mechanical problems belongs to a qualified technician.
If your home has an attic or crawl space, enter only when access is safe and conditions are suitable. Look from the entry point for wet insulation, roof staining, pest evidence, blocked ventilation paths, or standing water. Do not crawl across unknown surfaces or disturb suspected asbestos-containing materials.
4. Check visible safety devices and accessible conditions
Test smoke alarms according to the manufacturer’s instructions and record the test date. Follow the manufacturer’s instructions for battery replacement or replacement of the alarm itself. Replaceable-battery alarms and sealed, long-life-battery alarms have different maintenance requirements; do not assume that every alarm needs an annual battery change. U.S. Fire Administration guidance also recommends smoke alarms on every level, inside bedrooms, and outside sleeping areas.[3]
Test carbon monoxide alarms according to the manufacturer’s instructions and record the date. Follow the manufacturer’s instructions for battery replacement or alarm replacement, including any end-of-life warning. CPSC guidance recommends CO alarms on each level of the home and outside sleeping areas.[4]
Look at accessible outlets, switches, cords, and fixtures for looseness, scorching, cracked covers, buzzing, or heat damage. Do not remove outlet covers or open the service panel during a routine inspection. If you smell burning, see scorch marks, or notice repeated breaker trips, stop using the affected equipment and contact a qualified electrician.
In the garage, observe the door while it operates. Look for unusual noise, jerky travel, damaged springs, or an unreliable safety reversal feature. Do not adjust springs or other high-tension hardware yourself.
5. Inspect the basement, foundation, and drainage clues
In a basement, look for dampness, efflorescence, staining, peeling finishes, rust, or a musty odor. In a crawl space, check for standing water, wet insulation, wood deterioration, or evidence of pests from a safe viewing position.
Not every foundation crack means the same thing. Record its location, approximate width, direction, and whether it appears to be changing. A crack that is widening, accompanied by displacement, active water, sticking doors, uneven floors, or other changes deserves professional evaluation. Avoid filling or painting over a crack before documenting it.
Use the same photo angle and, where appropriate, place a ruler beside the feature for scale. The goal is not to diagnose the foundation; it is to give a contractor or engineer useful evidence.
6. Finish with records and a priority list
Review your notes immediately after the walk-through and divide findings into three groups:
- Act now: Active leaks, burning smells, unsafe stairs or railings, exposed damage, failed alarms, or conditions that could quickly worsen.
- Schedule: Deteriorated exterior materials, recurring condensation, drainage concerns, equipment service, or a defect that needs a specialist’s opinion.
- Monitor: A stable cosmetic crack, minor weathering, or an uncertain condition with no sign of active damage.
Give every item a date, photo, location, and next review date. Add completed work to the same file. A maintenance schedule can help turn these observations into recurring reminders; this guide on building a home maintenance schedule can help organize that record.
What a self-inspection cannot tell you
A homeowner walk-through cannot confirm structural capacity, concealed leaks, electrical safety inside a panel, combustion safety, roofing condition beneath the visible surface, pest extent, indoor air quality, or compliance with local codes. It also cannot replace a professional evaluation before buying, selling, remodeling, or making a major repair decision.
Use your inspection to improve the quality of the next conversation with a professional. Instead of saying “something looks wrong,” you can provide the location, dates, photos, measurements, weather conditions, and whether the problem is recurring. That documentation is the real value of an annual home inspection you do yourself.
Sources
- Standard of Practice — American Society of Home Inspectors
- A Brief Guide to Mold, Moisture and Your Home — U.S. Environmental Protection Agency
- Smoke Alarms — U.S. Fire Administration
- CO Alarms — U.S. Consumer Product Safety Commission