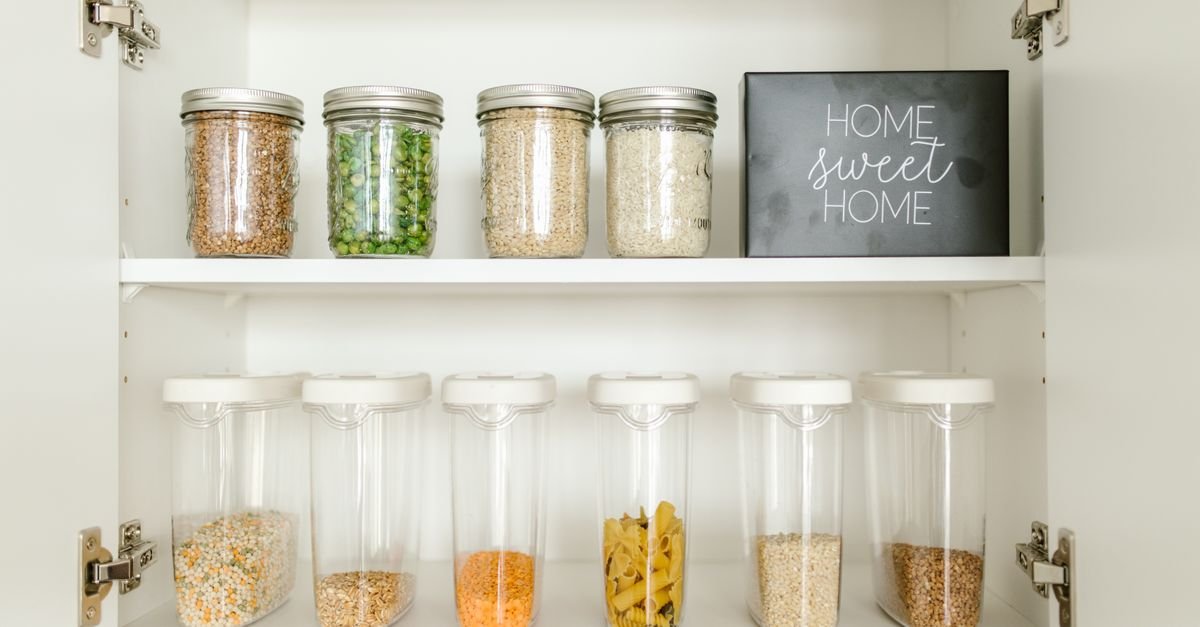
The best way to organize a deep pantry is to stop treating the full shelf depth as usable storage. Put frequently used foods in the front half, use bins or pull-out containers for items stored farther back, and reserve the least accessible areas for backups and occasional-use products.
Before buying organizers, measure the shelf depth, width, and vertical clearance. Then match the solution to how often you reach for the items, how heavy they are, and whether you rent. A shallow basket may improve access more than a large pull-out drawer if you need a removable, low-commitment system.
Start by dividing the pantry into access zones
Empty one shelf at a time rather than removing the entire pantry at once. Group products by how they are used, not only by package type. For example, a “quick breakfast” zone might hold cereal, oatmeal, and pancake mix, while a “weeknight cooking” zone could contain pasta, canned tomatoes, broth, and beans.
- Front zone: foods used several times a week.
- Middle zone: regular staples and unopened duplicates.
- Back zone: backup supplies, seasonal items, and products used occasionally.
- Lowest shelf: heavier items, such as bulk beverages or large cans, if they can be lifted safely.
- Eye-level shelf: products that are easy to forget, such as open packages or foods with shorter quality windows.
Keep like items together, but avoid creating a category so broad that it becomes another hiding place. “Snacks” may be too general; “school snacks” and “after-dinner treats” may be easier for your household to maintain.
Deep pantry solutions compared
| Solution | Best for | Accessibility | Rental-friendly? | Main limitation |
|---|---|---|---|---|
| Pull-out bins or drawers | Deep shelves and frequently used categories | Excellent | Usually, if freestanding | Costs more and needs enough clearance to pull forward |
| Half-depth baskets | Snacks, packets, baking supplies, and small bottles | Very good | Yes | Can become a mixed-item “junk bin” without labels |
| Open-front bins | Backups and grouped pantry staples | Good | Yes | Heavy bins are awkward to move when overfilled |
| Shelf risers | Cans, jars, and short packages | Good for visibility | Yes | They improve sight lines but do not make the back easier to reach |
| Adjustable shelf positions | Tall or wasted vertical spaces | Depends on layout | Only if the shelving allows it | May require tools or permission in a rental |
| Door storage | Spices, packets, wraps, and small flat items | Good | Sometimes | Door weight and clearance can limit what it can hold |
When pull-out bins are worth it
Choose pull-out bins when the back of a shelf holds items you use often. A bin lets you bring an entire category forward instead of reaching around several packages. This works particularly well for canned goods, sauces, baking supplies, and lunch-making items.
Use one bin for one recognizable category. A bin labeled “canned beans” is easier to manage than a large container labeled “canned food.” If a category needs several bins, place the most frequently used one at the front or on the easiest-to-reach shelf.
Check the loaded weight before using a sliding organizer. Cans and glass jars can make a container much heavier than it feels when empty. If the bin binds, flexes, or becomes difficult to lift, reduce the load rather than forcing it.
When half-depth baskets work better
Half-depth baskets are a practical choice when you want access without installing hardware. They are especially useful for flexible inventories: snack packets, drink mixes, small baking ingredients, and open packages that would otherwise disappear behind taller items.
Choose baskets that leave a visible strip of shelf behind them. That space can hold a second row of rarely used backups, but do not use it for products you need to inspect regularly. The basket should be easy to remove with one hand; if you need to unload the entire shelf first, it is too large or too heavy.
Open-front bins can be better than solid-sided baskets when you need to see labels from above. Use a label on the front only when the contents are stable enough that the label will remain accurate.
Use shelf risers for visibility, not reach
Shelf risers create a second level so cans and jars are less likely to hide behind one another. They are inexpensive and reversible, making them useful in rentals. However, a riser does not solve the problem of a product being too far back. Pair it with a shallow bin or reserve the rear area for backup stock.
For cans, arrange the oldest products toward the front and place newer purchases behind them. This first-in, first-out approach helps you use older items before newer ones. Extension guidance also recommends rotating stored foods this way. [1]
Adjust the shelves before adding more containers
Many pantry problems come from wasted vertical space. If a shelf has several inches of unused height, move it—or remove one shelf temporarily—before buying organizers. The goal is to create shelf heights that fit the products you actually own.
- Use shorter shelves for cans, jars, and small boxes.
- Reserve taller openings for cereal, large containers, and bulk packages.
- Avoid stacking loose packages so high that the bottom items become invisible.
- Keep enough clearance to lift a bin out without scraping the shelf above it.
If the shelves are fixed, use a riser or a low basket rather than forcing tall products into a crowded opening. In a rental, avoid drilling or attaching permanent hardware unless your lease allows it.
Make door storage selective
Pantry-door racks can reclaim otherwise unused space, but they are best for lightweight, compact products. Spices, seasoning packets, tea, wraps, and small bottles are usually easier candidates than heavy cans or large jars.
Before installing anything, close the door slowly and check whether the rack will hit shelves, trim, or stored food. Stay within the rack manufacturer’s weight guidance. If the door becomes difficult to close or begins to sag, remove weight immediately.
A simple decision guide
| If your pantry has… | Try this first |
|---|---|
| Deep shelves and many daily-use items | Pull-out bins, one category per bin |
| Deep shelves but a small household | Half-depth baskets so you do not overbuy containers |
| Many cans or short jars | Shelf risers plus front-to-back rotation |
| Tall shelves with unused space above products | Adjust shelf positions before purchasing organizers |
| Little shelf depth but a wide door | Lightweight door storage for small items |
| A rental with no drilling allowed | Freestanding bins, baskets, risers, and removable labels |
| Frequent duplicate purchases | A visible “use first” bin and a short inventory list on the door |
Build a rotation system that survives busy weeks
Organization only works if restocking is simple. When you bring home groceries, move older items forward and place newer items behind them. Keep a marker nearby for opened bags or packages when the original date is difficult to read.
Do not assume every date printed on a shelf-stable package is a safety deadline. Federal guidance explains that many packaged-food dates are chosen for quality, and date-label wording is not uniform across the United States. Follow the package instructions, and inspect food for damaged packaging or signs of spoilage. [2]
Store dry goods in a cool, clean, dry area. Check bags and boxes for holes or moisture, and consider airtight containers for products vulnerable to pantry pests. [3] Keep anything marked “Keep Refrigerated” out of the pantry; not every canned or packaged food is shelf-stable. [4]
The 15-minute deep-pantry reset
- Choose one shelf and remove expired, damaged, or unwanted items.
- Put the oldest usable products at the front.
- Group remaining items by use.
- Measure the shelf before selecting a bin or riser.
- Place daily-use products in the front zone.
- Label only categories that are likely to remain stable.
- Write a short shopping note for duplicates you already have.
The most effective deep-pantry setup is usually not the one with the most containers. It is the one that lets you see what you own, reach it without unloading a shelf, and return it to the same place after use.
Sources
- Take Stock Before Restocking Food Storage — Utah State University Extension
- How to Cut Food Waste and Maintain Food Safety — U.S. Food and Drug Administration
- How Do I Store Dry Goods? — U.S. Department of Agriculture Food Safety and Inspection Service
- What Does “Shelf Stable” Mean? — U.S. Department of Agriculture Food Safety and Inspection Service