Routine appliance maintenance cannot guarantee that water damage will be prevented, but it can reduce the risk and help you find leaks early. Inspect water hoses and connections first, clean filters and seals as directed, then run each appliance while watching for unusual sounds, standing water, odors, or dampness. A short inspection every month, plus a more thorough check two or three times a year, can help catch problems before they reach cabinets, walls, or flooring.
Always follow the owner’s manual for your specific model. Appliance layouts, filters, hose materials, and recommended cleaning products vary. Do not remove electrical panels or attempt repairs involving valves, pumps, wiring, or sealed components unless the manufacturer specifically identifies the task as homeowner maintenance.
The priority order: water connections before cleaning
When an appliance uses a water supply, the connection is usually the highest-consequence area to inspect. Look for drips, mineral deposits, rust-colored marks, damp flooring, bulging hoses, cracked tubing, loose fittings, or a drain hose that has slipped out of position. A dry connection during a quick glance does not prove that it stays dry during filling, washing, or draining, so observe the appliance during a cycle when practical.
The U.S. Environmental Protection Agency recommends routinely checking for household leaks and addressing them promptly because leaks can waste water and damage the home. Leak-detection devices can also alert you to unexpected moisture or unusual water flow.[1]
| Appliance | Check first | Useful frequency | Stop-use signs |
|---|---|---|---|
| Washing machine | Inlet hoses, shutoff connections, drain hose, door gasket | Monthly visual check; hose condition review at least annually | Active leak, cracked or bulging hose, water entering while off, repeated standing water |
| Dishwasher | Door gasket, drain path, filter, supply and drain connections | Filter as needed; interior and seal check monthly | Water on the floor, leak from beneath the unit, persistent standing water, damaged gasket |
| Refrigerator with water or ice | Supply line, filter housing, valve area, dispenser tray | Monthly visible check; after filter changes or moving the appliance when the manual permits | Continuous dripping, wet flooring, leaking fitting, damaged tubing, recurring ice-maker overflow |
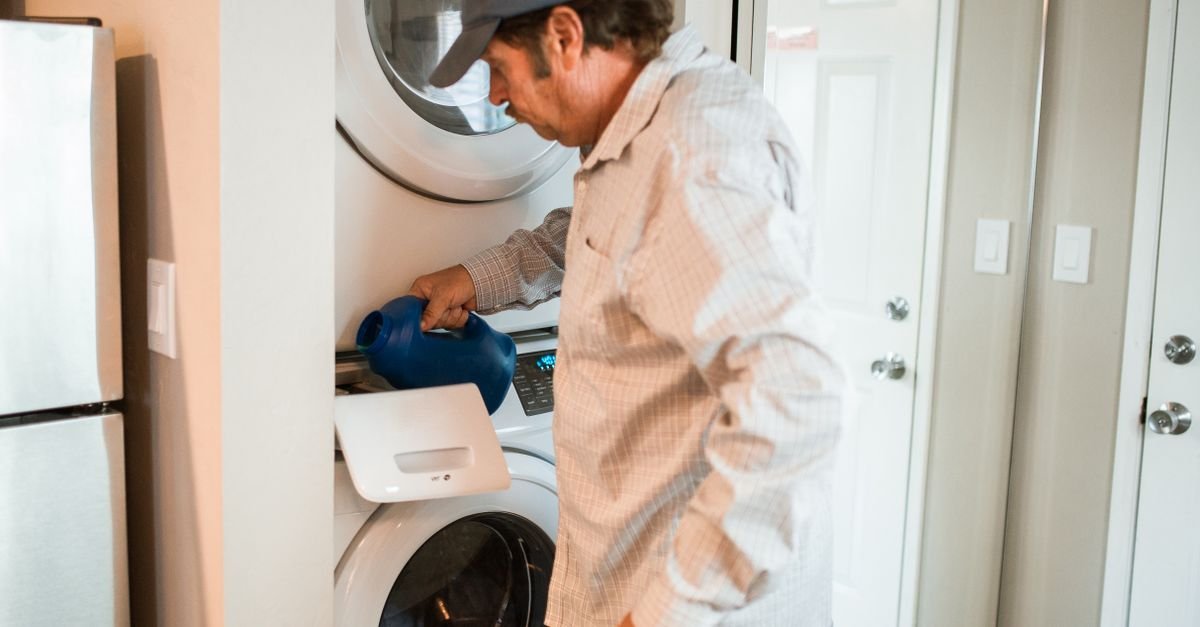
Washing machine: inspect hoses, then control moisture and odor
Monthly washer check
- Look behind and beneath the machine for dampness, water marks, or a musty smell.
- Inspect both inlet hoses for bulges, cracks, cuts, kinks, or fraying. Check connection points for moisture or mineral buildup.
- Confirm the drain hose is not crushed, pulled loose, or positioned where it can discharge onto the floor.
- For a front-load washer, wipe moisture and residue from the door gasket, including the lower fold.
- Leave the door or lid open after use when the model and room layout allow it, so remaining moisture can evaporate. EPA WaterSense specifically recommends this for front-load washers to help prevent mold.[1]
Manufacturer guidance commonly treats hose condition as a replacement issue rather than a cleaning issue. Maytag advises inspecting washer hoses and connections for bulging, cracking, and fraying, and some Maytag installation guidance recommends replacing inlet hoses after five years of use. Use your own washer manual as the controlling recommendation, especially if it specifies a different hose type or interval.[2]
If the washer leaks only during draining, the drain hose, hose clamp, drain path, or pump may be involved. If water enters the drum while the washer is switched off, the inlet valve may be faulty. Those symptoms call for service rather than repeated test cycles.[3]
For a deeper odor routine, see how to clean a front-load washer gasket and stop the smell. That task complements, but does not replace, checking hoses and connections.
Dishwasher: protect the drain path and door seal
Monthly dishwasher check
- Remove and rinse the filter if your model has a removable filter. Use warm water and a soft brush; avoid abrasive tools.
- Inspect the sump area for visible debris, but do not reach into an area you cannot see clearly.
- Check the door gasket for food residue, splits, flattening, or sections pulled from their channel.
- Under the sink, look at the drain hose for kinks, sagging, loose clamps, or damp connections.
- If the installation uses an air gap, check that its openings are not blocked. If it uses a high loop, make sure the hose has not moved after work under the sink.
- Run a short cycle occasionally while watching the floor and underside of the counter for moisture.
Whirlpool recommends cleaning dishwasher filters according to the user guide and notes that some models use a maintenance-free filter system instead. The correct schedule therefore depends on the filter design and use.[4]
A dishwasher that leaves standing water may have a dirty filter, blocked sump, restricted drain hose, or a pump problem. Clear only the accessible filter and drain path described in your manual. Do not pour drain-opening chemicals into the dishwasher; Whirlpool warns that they can damage components and create safety hazards.[5]
Water at the front corners can point to a gasket, leveling, loading, or detergent problem; water beneath the unit can involve a hose, inlet valve, pump seal, sump, or overfill condition. An active leak should not be managed by simply running fewer cycles. Stop the appliance, close its water supply if accessible, and arrange service if the source is not obvious.[6]
If odor is the main issue, use the separate routine in Why Your Dishwasher Smells—and the Cleaning Routine That Actually Helps.
Refrigerator with a water dispenser or ice maker
Monthly refrigerator check
- Follow the owner’s manual before moving the refrigerator. Do not pull out a built-in, tip-prone, unusually heavy, or inaccessible unit yourself. If it can be moved safely, inspect the supply line for kinks, abrasion, pinching, or dampness.
- Check around the filter housing and connection points after replacing a filter.
- Wipe the dispenser tray dry. A few drops immediately after dispensing can be normal, but dripping that continues after the glass is removed may require service.[7]
- Look for water beneath crisper drawers or on the floor. Depending on the model, water in those areas can have several causes, including a drainage problem; use the manual’s troubleshooting guidance rather than assuming the supply line is responsible.
- Confirm that the water line is not bent sharply or trapped under a wheel.
For refrigerator leaks, use the model-specific manufacturer troubleshooting instructions to identify whether the supply line, filter housing, dispenser, ice-maker system, or drainage system is involved. A generic support hub should not be treated as confirmation of every possible cause. If the source is not obvious, stop using the water or ice function and arrange service.
After installing a new water filter, sputtering can result from air in the water system. GE recommends dispensing water until the air is cleared. If sputtering continues after the manufacturer’s clearing procedure, consult the manual or arrange further troubleshooting rather than assuming the condition is normal.[9]
A practical maintenance schedule
Every month
- Look for dampness under and behind water-using appliances.
- Inspect washer hoses, dishwasher connections, and refrigerator tubing.
- Clean the washer gasket and dishwasher filter as directed or as needed.
- Wipe refrigerator dispenser areas dry and check for persistent dripping.
Two or three times a year
- Run each appliance while observing filling, washing, draining, and dispensing.
- Clean accessible seals, dispensers, filters, and drain areas according to each manual.
- Check that appliance feet are stable and hoses have not become kinked or strained.
- Review the age and condition of washer inlet hoses, especially near finished flooring or in an upper-floor laundry area.
After moving an appliance, changing a filter, or working under the sink
- Inspect every disturbed connection before normal use.
- Run a short cycle or dispense water while watching connection points.
- Recheck for moisture after the appliance has been used and drained.
Stop-use triggers: when cleaning is no longer the answer
Stop using the appliance and arrange repair when you see an active leak, a cracked or bulging water hose, water entering a washer while it is off, repeated dishwasher floor leaks, continuous refrigerator dispenser dripping, a burning smell, damaged wiring, or water near an electrical connection. If water is spreading, close the appliance’s water supply valve if you can do so safely. Do not keep restarting a machine to identify a leak that is already active.
The goal is not to repair every appliance yourself. It is to identify early signs—dampness, residue, restricted drainage, worn seals, unusual sounds, and recurring odors—while the problem is easier to isolate. Add these checks to a broader home maintenance schedule.
Quick homeowner checklist
- Washer: hoses dry and undamaged; drain hose secure; gasket clean and intact; no water underneath.
- Dishwasher: filter clear; drain path unobstructed; gasket intact; no water at the toe-kick or cabinet edges.
- Refrigerator: supply line straight and dry; filter housing secure; dispenser not continuously dripping; no water under drawers.
- Any appliance: stop use for an active leak, damaged tubing, persistent standing water, or a symptom that returns after basic cleaning.
Sources
- Home Maintenance and Leak Detection Guidance — U.S. Environmental Protection Agency WaterSense
- Maintaining Your Washer & Dryer: Tips & Checklists — Maytag
- How to Fix a Leaking Washing Machine — Maytag
- Cleaning the Filter - Dishwasher — Whirlpool
- Dishwasher Not Draining - Product Help — Whirlpool
- Dishwasher Leaking Troubleshooting Guide — Whirlpool
- Refrigerator - Dripping or Leaking Water from Dispenser — GE Appliances
- Refrigerator and Freezer Troubleshooting and Support — GE Appliances
- Refrigerator - Sputtering Water Dispenser — GE Appliances