The best way to organize pantry shelves is to plan around three things: the height of your food, how often you use it, and how you restock it. Start by measuring the products that actually live in your pantry—not an idealized set of matching containers. Then assign the most accessible shelves to everyday foods, reserve taller or less convenient spaces for occasional items, and buy organizers only after the layout works on paper.
This approach prevents a common mistake: using one shelf height for everything. Short packages disappear behind tall boxes, while unused vertical space accumulates above cans and jars. A pantry works better when each shelf has a deliberate height range and a clear category.
Plan the pantry around real buying patterns
Before moving anything, make a quick inventory of the foods your household buys repeatedly. Do not list every item in the pantry. Focus on the products that determine the layout:
- Breakfast foods such as cereal, oats, coffee, and pancake mix
- Cooking staples such as pasta, rice, flour, oils, and canned tomatoes
- Snacks, lunch items, and school foods
- Canned goods, jars, and beverages
- Backstock, bulk packages, and seasonal or occasional ingredients
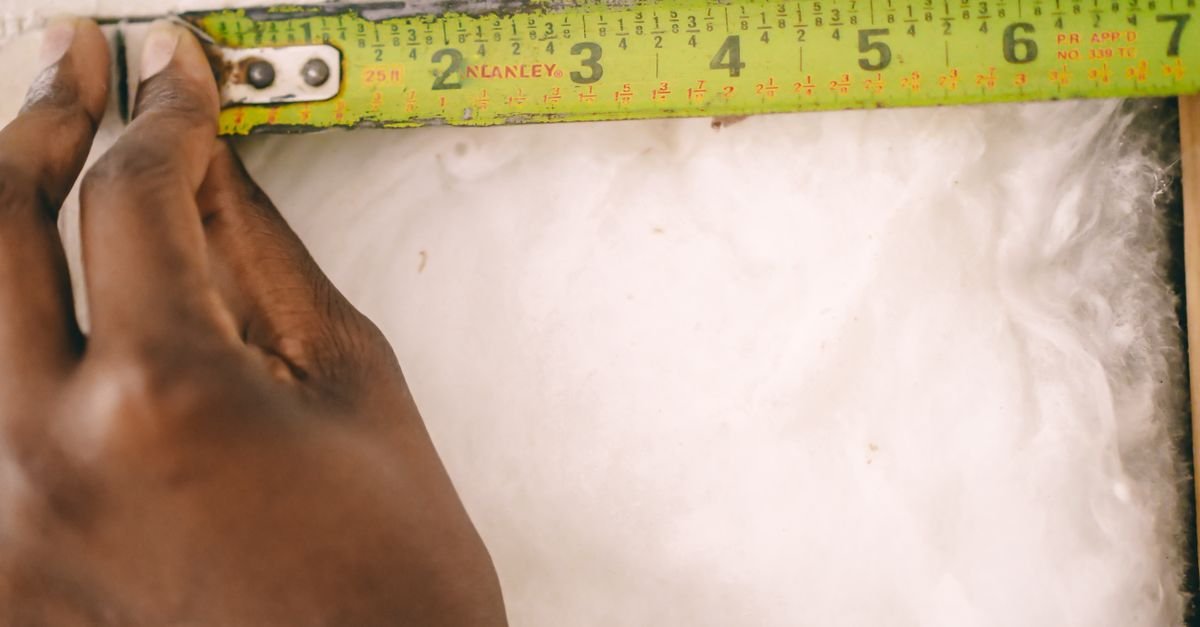
For each group, note the tallest package, the widest package, and whether you normally keep one item or several in reserve. This matters more than the dimensions of a storage bin. A container that fits an empty shelf may not fit the package you buy every week.
Also identify the foods that are easiest to forget. Older pantry items should be placed in front of newer ones, and opened packages should be used before unopened ones. [1] Your shelf plan should make that rotation possible without unloading an entire shelf.
Use a simple shelf-height system
Exact shelf spacing depends on your cabinet, shelving hardware, and food packaging. The following ranges are practical starting points rather than rules:
| Suggested clear height | Best suited to | Planning note |
|---|---|---|
| 6–8 inches | Cans, jars, small packets, spice refills | Useful for low shelves that otherwise waste vertical space |
| 9–12 inches | Boxes, snack bags, shorter bottles, baking supplies | A flexible everyday range for many packaged foods |
| 13–16 inches | Cereal boxes, tall containers, larger bottles | Use where tall packages can remain visible and easy to remove |
| 17 inches or more | Bulk bags, appliances, paper goods, infrequent items | Reserve for items that need the extra clearance |
Measure clear height—the usable distance between the shelf surface and the obstruction above it. Include the thickness of a lid, handle, or pour spout if the item must be removed vertically. Leave enough room to grip the package. A shelf that technically fits a container but requires you to tip or pinch it every time is not efficiently planned.
Do not make every shelf tall to accommodate the largest item. That creates empty air above smaller foods and makes the back of the pantry harder to see. Instead, create one or two tall zones and use shorter clearances elsewhere.
Give each shelf a job
Think of the pantry like a small retail display: the items you reach for most should be easiest to see and remove. A practical arrangement often looks like this:
- Eye-level shelf: daily-use foods, breakfast items, coffee, snacks, or ingredients used in most meals.
- Chest-to-waist shelf: heavier jars, cans, cooking staples, and items that are frequently replenished.
- Lower shelf: bulk packages, drinks, appliances, or sturdy items that are less convenient to lift.
- Upper shelf: backstock, seasonal foods, entertaining supplies, and items used only occasionally.
There is no universal “correct” category for each height. If children prepare their own snacks, their everyday foods may belong lower. If an adult has limited reach, frequently used foods should stay within the easiest safe reach rather than being placed high for visual symmetry.
Keep categories based on how your household uses food, not only on textbook food groups. “Weeknight dinner,” “school snacks,” and “baking” may be more useful than separating every product by ingredient type. A category earns its space when it makes shopping, cooking, or putting groceries away faster.
Separate visibility problems from depth problems
If short items are buried behind tall products, the issue may not be shelf height alone. It may be shelf depth. On a deep pantry shelf, use one of these layout changes before buying a large collection of bins:
- Place short, frequently used items at the front and taller reserve items behind them only when the back items remain visible.
- Use a shallow tray for small packets so the whole category can be pulled forward at once.
- Group similar items in rows rather than creating several layers of unrelated products.
- Move rarely used backstock to a higher or separate shelf instead of allowing it to hide everyday foods.
For a deep pantry, a pull-out bin can help, but it should hold a coherent category rather than become a mixed drawer. The existing Ruvza Home guide on organizing a deep pantry can help when depth—not height—is the main source of lost items.
Map the shelves before buying containers
Use this template on paper or in a notes app. Fill it out using your actual grocery list:
| Category | Tallest item | Typical quantity | Use frequency | Best shelf | Organizer needed? |
|---|---|---|---|---|---|
| Example: breakfast | 12-inch cereal box | 3–5 boxes | Daily | Eye level | Possibly a narrow divider |
| Example: canned dinner ingredients | 5-inch can | 8–12 cans | Weekly | Waist level | Maybe a can riser |
| Example: baking | 10-inch flour container | Several staples | Monthly | Upper or middle | Only if packages tip or spread |
After filling in the table, sketch your pantry from the front. Draw each shelf with its planned category and approximate clearance. Mark the items that need to be visible without moving anything else. Those are the categories most likely to benefit from a riser, tray, divider, or turntable.
Then test the plan with empty cardboard boxes or folded paper. This inexpensive mock-up can reveal that a shelf is too shallow for a category, that a door shelf blocks a tall package, or that a bin would consume more vertical space than it saves.
Buy organizers only where they solve a specific problem
Once the shelf map is working, choose organizers by function:
- Risers: improve visibility for short cans and jars behind taller ones.
- Shallow bins: keep packets or small bags from spreading across a shelf.
- Dividers: keep boxes and cutting boards upright without requiring a full container.
- Turntables: help with small bottles or sauces that would otherwise disappear at the back.
- Airtight containers: useful for suitable dry goods when pest control, freshness, or spill prevention is a concern.
Not every food needs decanting. Keeping original packaging can make cooking instructions, allergen information, and expiration or best-by details easier to verify. If you transfer a food, label the container clearly and retain information you may need later.
For routine storage, keep shelf-stable foods in a cool, dry place. [2] Pantry-pest guidance also recommends using older products first, buying quantities that can be used in a reasonable period, and storing susceptible dry foods in tightly closed containers. [3] Those considerations may justify a container, but they should follow the layout plan—not replace it.
A five-minute restocking rule keeps the layout usable
A good pantry plan should survive grocery day. When restocking, place newer packages behind older ones only if the shelf remains easy to scan. If a category repeatedly overflows, do not immediately add another bin. Ask whether the category is too broad, whether you are buying more than the shelf can support, or whether backstock belongs elsewhere.
Every few months, review the categories that migrate, overflow, or become hidden. Household buying patterns change. A shelf that once worked for baking may need to become a snack shelf, and the best layout is the one that reflects current use.
The practical test
Your pantry plan is working if you can answer “yes” to these questions:
- Can you see the foods you use most often without moving several other items?
- Does each shelf have enough clearance for the tallest item in its category?
- Can groceries be put away without creating mixed piles?
- Are older packages easy to reach before newer ones?
- Are organizers solving a visibility, stability, or containment problem?
If the answer is no, adjust shelf height or category placement before purchasing more storage products. The most useful pantry is not the one with the most matching bins; it is the one that makes everyday food easy to see, reach, rotate, and return.
Sources
- Reducing food waste — University of Minnesota Extension
- Shelf-Stable Food Safety — USDA Food Safety and Inspection Service
- Pantry pests: Insects found in stored food — University of Minnesota Extension